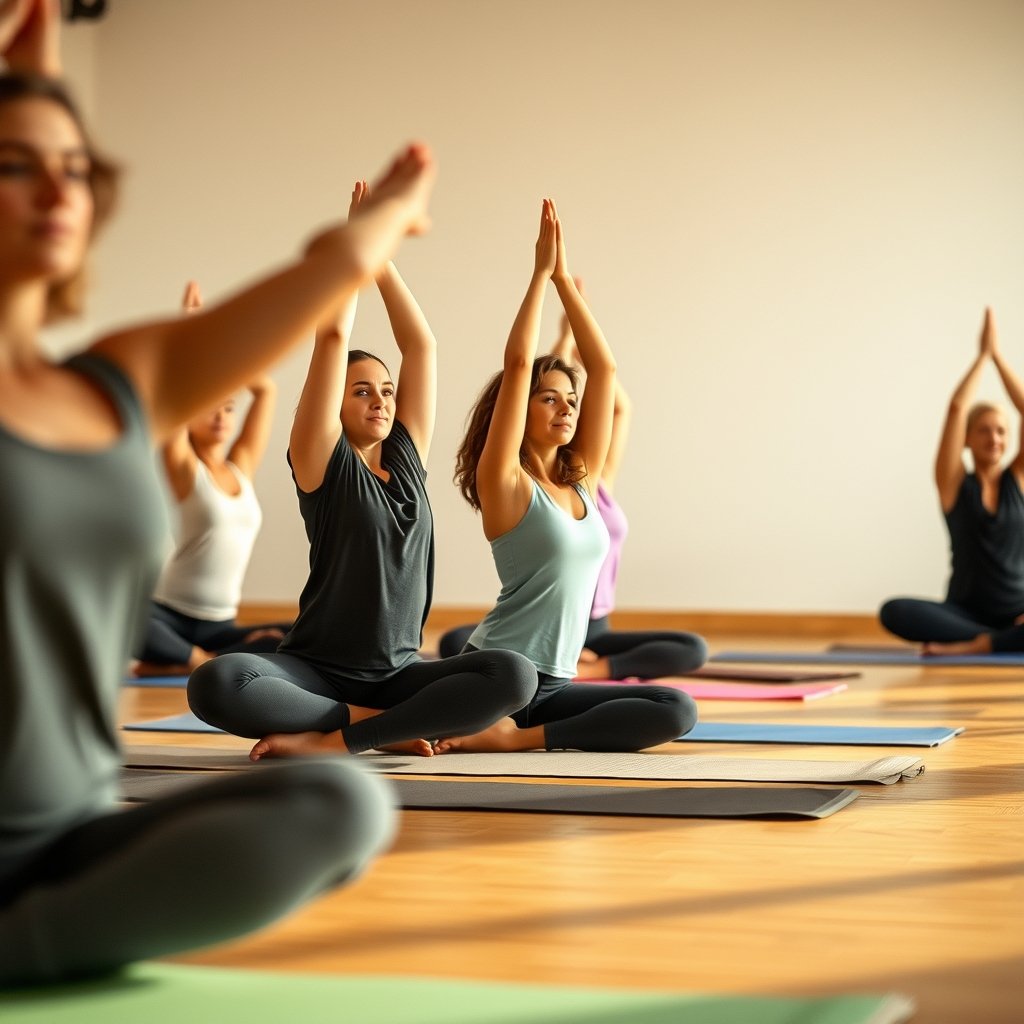
Different Types of Yoga Poses:

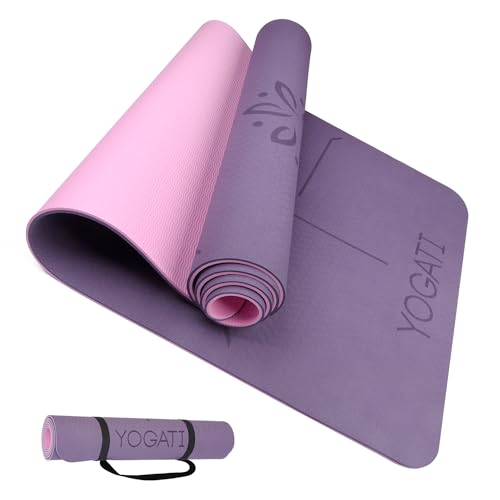
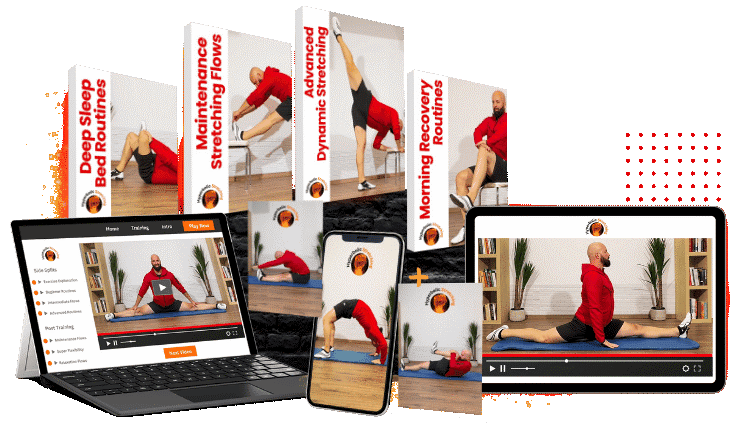
Yoga Weight Loss Conditioning Program
Get fit and slim down with our effective Yoga Weight Loss Conditioning Program for a healthier and happier you
Product information
$14.98 $12.86
Product Review Score
4.82 out of 5 stars
36 reviewsProduct links
Explore a variety of yoga poses that cater to how your body moves and engages. Here's a breakdown of the fundamental categories of yoga poses:
- Standing Poses: Often the starting point in a yoga class, these poses help generate warmth and prepare your body. In styles like vinyasa/flow yoga, standing poses flow together seamlessly, while in Hatha classes, each pose is performed individually with breaks in between.
- Balancing Poses: Perfect for building core strength, beginner balancing poses may feel challenging initially but can greatly improve with regular practice, leading to mastering more advanced postures in yoga.
- Backbends: Starting with gentle spinal movements, progressing to deeper bends, backbends are crucial for spinal health, offering flexibility and strength not commonly utilized in daily activities.
- Seated Poses: These poses, focusing on hip and hamstring stretches, are typically practiced towards the end of a session when the body is warmed up. Using props like a folded blanket or block can enhance comfort and deepen the stretches.
- Resting or Supine Poses: Restorative poses, such as the child's pose, provide moments of rest and rejuvenation during a yoga session. These poses offer continued benefits for the hips and hamstrings, as well as gentle backbends, twists, and inversions, promoting relaxation and flexibility. Explore these various pose types to enhance your yoga practice and nurture your body and mind.
Here are some great poses to start with
Downward Facing Dog (Adho Mukha Svanasana)
Dive into Downward Facing Dog (Adho Mukha Svanasana):
Downward Facing Dog holds a special place in the world of yoga—it's often considered the cornerstone pose for its widespread importance in contemporary practice. Whether you're new to yoga or a seasoned practitioner, chances are you've encountered this versatile pose multiple times. Frequently seen in Vinyasa classes, Downward Dog serves as both a transitional posture and a moment of repose, making it a staple in routines such as the Sun Salutation sequence.
Benefits of Downward Facing Dog:
This pose offers an array of benefits—it stretches the hamstrings and calves, while simultaneously building strength in the arms and legs. Additionally, it targets the external oblique abdominal muscles, contributing to a strong core. As a gentle inversion, Downward Dog reverses the usual forces acting on your spine and enhances blood circulation to the brain. Practicing this pose regularly can also aid in alleviating chronic back pain.
Step-by-Step Guide:
You can practice Downward Facing Dog anywhere with a flat surface, like a yoga mat.
1. Begin on your hands and knees, aligning your wrists under your shoulders and knees below your hips.
2. Tuck your toes, lift your hips, and straighten your legs, pressing back through your hands.
3. Ground down through your palms and spread your fingers wide for stability.
4. Rotate your upper arms outward to broaden your collarbones and relax your head, letting your shoulder blades move away from your ears towards your hips.
5. Engage your quadriceps to shift some weight off your arms, promoting a sense of ease in the pose.
6. Internally rotate your thighs, lift your tailbone high, and encourage your heels to reach towards the ground.
7. Ensure the length between your hands and feet is consistent by comparing it to a plank position.
8. Exhale, release by bending your knees, and return to the starting position on hands and knees.
Practice and explore the nuances of Downward Facing Dog to reap its benefits and enhance your yoga journey.
Mountain Pose (Tadasana)
Mountain Pose (Tadasana) is like a strong foundation for your entire yoga practice, especially when it comes to standing poses. The word "Tada" in Sanskrit means mountain, and "asana" means seat or posture. So, basically, you're setting up your posture like a mountain!
This pose is not just a warm-up for other poses; it can also be a powerhouse on its own, helping you to enhance your posture and body awareness. Most yoga sequences featuring standing poses start with Mountain Pose, as it sets the tone for what's to come, like the standing forward bend that often follows.
How to do the Mountain Pose:
1. Stand with your big toes touching and heels slightly apart for a strong base.
2. Ground your feet and calves into the floor.
3. Engage your quadriceps, lift your kneecaps, and rotate your thighs inward.
4. Keep a natural spine curve, engage your core slightly, and broaden your collarbones.
5. Roll your shoulders back and down, with arms hanging naturally.
6. Keep your neck long, chin level, and head reaching towards the sky.
7. Hold the pose while taking deep breaths for 5 to 10 counts.
Benefits of Mountain Pose:
- enhances posture and body awareness
- strengthens leg muscles and promotes good alignment
- engages your entire body, requiring focus and awareness
- sets the foundation for various standing and inverted poses
- can boost self-esteem and energy levels, especially when practiced with openness and expansiveness
So, strike a strong Mountain Pose, feel the power of aligning your body, and let the benefits trickle into your practice and beyond!
Warrior I (Virabhadrasana I)
Warrior I is like a yoga superhero pose that strengthens your legs and arms, improves balance, and gives your entire body a good stretch. While nailing the alignment may seem a bit challenging at first, practicing it will enhance your body awareness and balance over time. It's a common stance for exercise and stretching, and blending it into a seamless flow as part of your standing yoga sequence can be truly empowering.
Benefits of Warrior I:
- Strengthens legs and upper arms
- Enhances balance and core strength
- Stretches muscles around the hips, thighs (quadriceps and hamstrings), and chest
- Engages the erector spinae muscle for a back extension
- Opens up the hips and can be relief for sciatica
- Energizing pose for improved breathing and circulation
How to Practice Warrior I:
1. Start from Downward Facing Dog and step your right foot forward next to your right hand.
2. Pivot your left foot, aligning the heel to the floor with toes pointing out at a 45-degree angle.
3. Bend your right knee directly over the ankle, making your right thigh parallel to the floor.
4. Rise up, extending your arms outwards and up towards the ceiling with your chest open, incorporating a slight backbend.
5. Keep your palms together overhead or at shoulder's distance apart, whatever feels comfortable.
6. Lift your gaze towards your hands and relax your shoulder blades downwards.
7. Ensure your hips are aligned by drawing your right hip back and left hip forward, squaring them to the front of your mat.
8. Ground down through the outer edge of your left foot while keeping the right thigh parallel to the floor.
9. Lower your hands to the mat and step your right leg back to Downward Dog. Take a moment or flow through a vinyasa before repeating on the left side.
By embracing Warrior I, you're not just striking a powerful pose, but also nurturing your body with strength, flexibility, and balance. Let this pose empower you on your yoga journey.
Warrior II (Virabhadrasana II)
Lift yourself up and free your arms. Now, get ready to step into Warrior II! Extend your right arm forward and your left arm back, and as you do, feel the energy and strength flowing through your body. You can adjust your stance to open your hips towards the side of the mat, finding your sweet spot for balance and power.
Ensure that your right knee is still generously bent over the right ankle. It's common for the knee to want to move toward the center, so take a moment to check and ensure you can still see your right toes peeking out on the inside of your knee. Engage your quadriceps, feel the strength building, and gently sink your hips a little lower, finding your warrior stance and embracing the resilience it brings.
Warrior III (Virabhadrasana III)
Warrior III is a challenging pose that requires both strength and balance. As you practice this pose, remember to engage your core muscles to help stabilize your body. Keep your gaze focused on a point in front of you to help with balance, and remember to breathe deeply and evenly throughout the pose.
It's important to listen to your body and modify the pose as needed. If you're feeling unstable, you can place your hands on a wall or a chair for support. As you continue to practice, you may find that your balance improves and you're able to maintain the pose for longer periods of time.
Remember to switch sides and practice Warrior III on your left side as well to maintain balance in your practice. Enjoy the journey of exploring this powerful pose and the strength and stability it can bring to your practice.
Yoga is a great way to improve your body tone, reduce stress, increase flexibily and so much more